Monday 10 July 2017

What happened next....

Well the less said about the 8th build weekend the better, but I will say it started well then a fairly nasty D&V virus swept through the house and we all suffered, worked stopped, children cried....that's enough.

So the 9th build weekend - the Bodge-it & Scarper Special


[please ignore the incorrect date stamp on these pics - old camera is a farce] 

Sadly Heno (the actual joiner) couldn't be with us but the 2 likely lads - Greg and Coxy aka Bodge-it & Scarper aka the Chuckle Brothers gathered their best bent screw drivers, homemade spirit levels and mouse-powered drills and rolled up their sleeves......honestly it's a miracle the place is still standing!)


Firstly, do you like Coxy's sink unit?
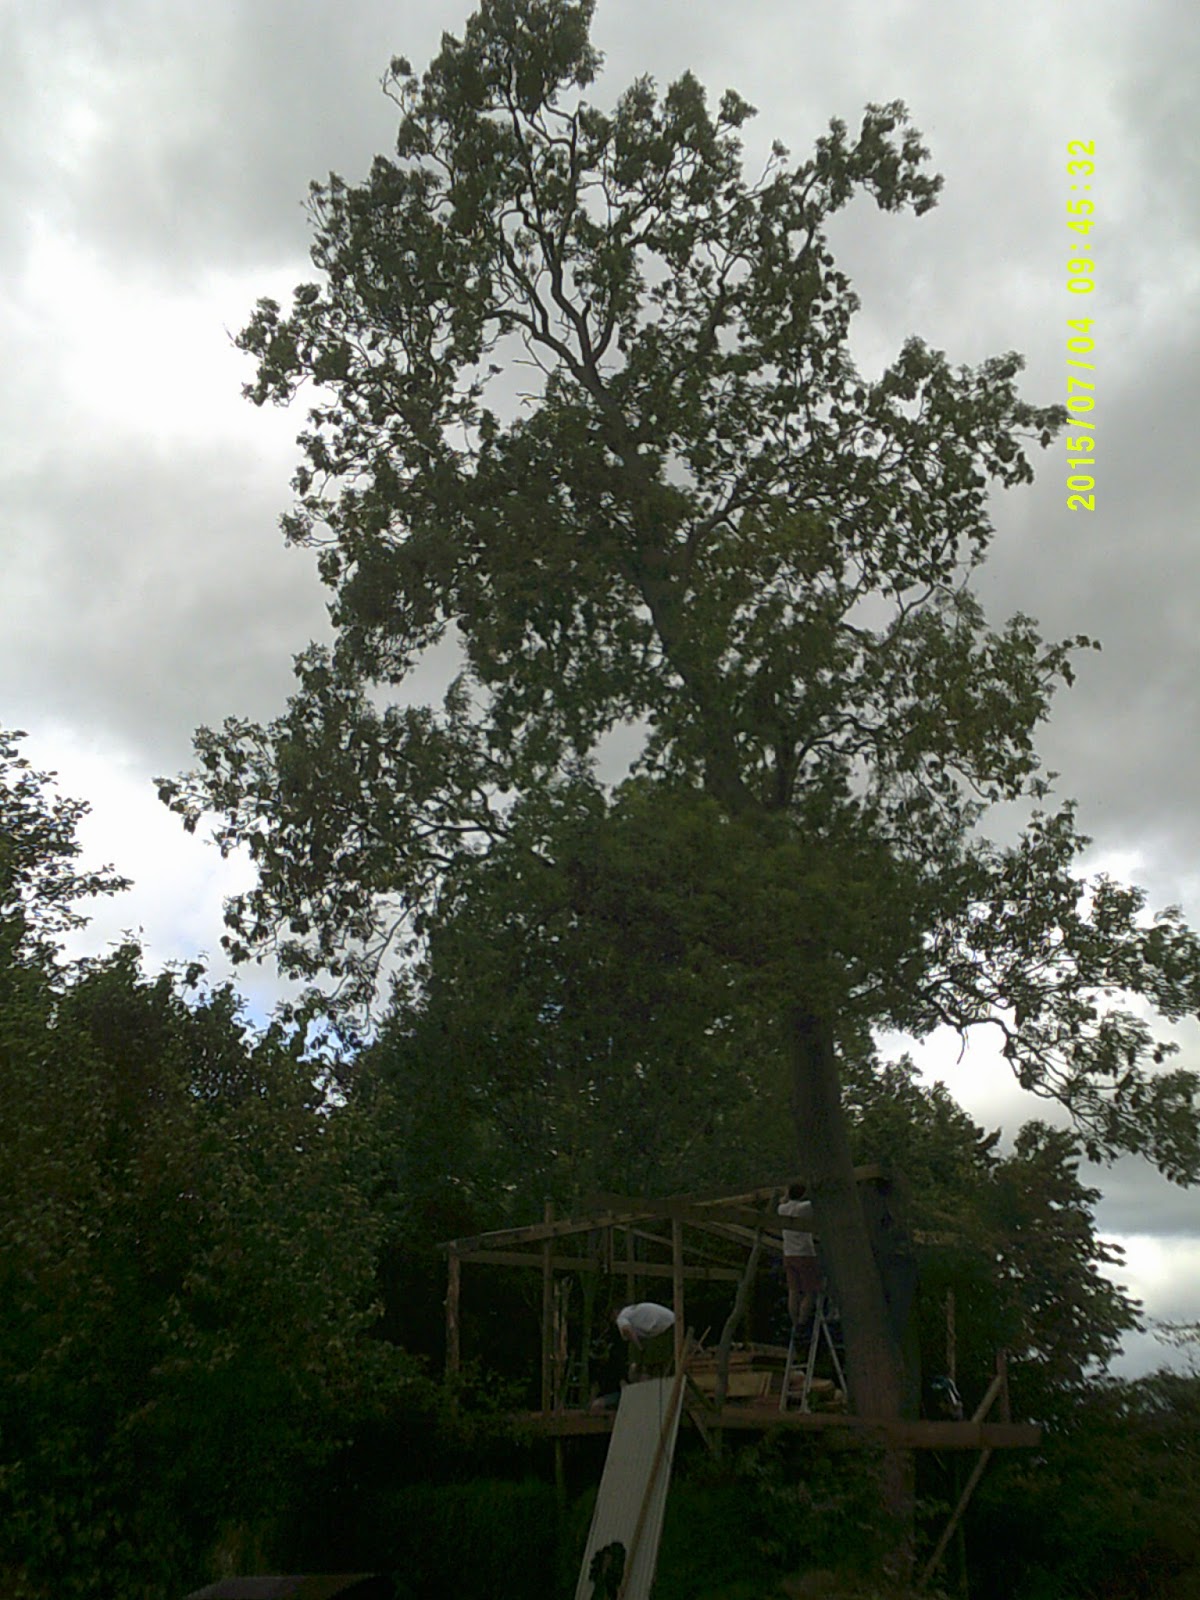
This weekend (May 2017) was about the outhouse, a wee structure at ground level next to the tree house housing: 
1.the scullery - yes that is the right term for it - not a kitchen, a scullery :)  For hot water boiler (wood fired oil drum joby) and the sink (seen above)
2.the shower room - yes we have a shower tray to use and the shower will most likely be a bucket with watering can rose.
3.the khazi - composting loo

First thing first dig foundations for posts and a drainage trench


then fill pits with stones from the river - back breaking but fun


Then some bodgey wood work for a frame....


Then the reward - bodged pasta!


Watch this space for the up coming July build-fest!

Monday 23 May 2016

Seventh build (long) weekend - May 2016

So this weekend was all about walls and windows.  We set up to camp in the gorgeous spring weather, just the lads this weekend, fires, rabbit stew, drills, cider and a quick dip in the river.  These video's are coming thick and fast thanks to Heno - please look back at previous posts as some have the clips amalgamated into one video and others now have videos that didn't previously.


So this is one of the most exciting weekends so far I reckon, when I imagined building a treehouse this is what I had in mind - using all our recycled/skip dived odds and ends to form walls and windows and see it taking shape.  Previously I've been surprised by the amount of digging required and the structural frame seemed to take FOR-ever. 

I may have brought a tent without poles (special) so we just strung up the inner sleeping pod under the trees and stretched a tarp above it, no problems with rain anyway as it was a glorious weekend :)


The first window is the dinning room window, using 3 of these 6 pane windows we want to make a huge, opening window to capture the view across the fields of welsh long horns and hills, situated just above the fold down dinning table.  The table will form an window shutter when in the up position.


So here's the finished product!  Gorgeous old wood frames which Heno's connected together into one big new frame, he loves his electric wood plane he does.


Then we were onto a smaller window and kiddie window by the front door, we the kiddie window is a tumble dryer door - boom! 


Here you can see the almost complete wall, salvaged sauna panels used to good effect, providing excellent insulation,  The blue around the kiddie window is foam and foil insulation sheet from a skip, cut to fit.


As most of the wall was done we moved onto the outside, here's a good shot of the feather boarding on the outside, again a massive thank you to Reynolds Timber in Birkenhead for donating scrap feather boards to us, they maybe cracked or odd sizes but they'll do us!  We have a few tonnes still to use for the other walls, it looks so cool!

 Full wall, a view of the yard arm (static) which is yet to be used, and a big open window, so happy


You can see the two smaller windows here and we love the tree's camouflaging the treehouse although they are a bit hard to work around when your up a ladder trying to nail down feather boards.


We had a site visit from an onsite safety troll courtesy of Dial-a-Dean Inc, who mostly laughed at our general lack of safety, smoked and drank tinnies whilst telling us how we could have done it better!  He did a lot of filming for us and it was ace having 4 sets of hands.  After he arrived we started to tackle the balcony structure.  A large haul of timber from a friends recently deceased lean-too gave us a lot of long sections of solid 3" x 4", balcony structure tick!  So in the next pic you can see Heno precariously balanced on 2 sections of sleeper sat on the main rails.  It's gonna be huge!  On the last day we set about creating a lot of diagonal bracing to support the balcony but more will be needed.


Hope you enjoyed this epic video and post, we found this weekend very invigorating and are chuffed with the progress, next time more walls and a working balcony!


6th Build Weekend - November 2015

I have a white Russian on hand, Heno's uploaded the video to youtube, lets do this!

So here's the video of the 6th build weekend,


November 2015, seriously cold, we didn't brave camping this time, seriously windy, fart jokes aside on the first night we headed up onto the roof to check the ply.  We were missing 1 and a half sheets of coroline roofing (black plastic corrugated stuff)  and we hoped that over a month in the rain and freezing weather hadn't killed the corner of our roof....it hadn't!  All solid and dry and ready to go.  So first job that night was to put the last sheets up, it was going dark, gale force winds, kneeling on loose ply sheets (so we didn't break the coroline by kneeling on it)...I don't love heights anyway....yea safest thing I've ever done!  


The next day showed us that wind had made a right mess of the wood piles we'd stored down by the tree, we did our best to tidy up then realising how treacherous the stair were with no hand rail and slippery steps we set to work on those.  The plan was simple, our kind landlords provided left over chicken wire which we wrapped around each step and nailed and stapled down, this made them less deadly to use - but the twist in the stairs and differing depth of each step means they are hard to climb, it's fairly steep so we'll need hand rails.


The rest of the weekend was dedicated to windows and door.  The first window was an aluminium framed double glazed unit.  It needed a trim-cutting down from 4 panes to 3 - still leaving us with a 6ft window and the top pane opens, boom!  The first corner of the walls has gone up, shed panels but they're just structural, they'll need feather boarding on the outside and insulation and cladding on the outside.  


our last joy was to fit the front door, a bit weird considering we had almost no walls.....but it felt important to do!  It's a lovely old solid wood door from a pub beer garden.  Two posts, two hinges and a bit of fiddling later and we had a working door, with a slightly dubious natural wood carved handle, but now we have a opening door and window, boss! 


Tuesday 27 October 2015

Fifth build weekend - October 2015


I can barely believe we've managed to get 3 build weekends in this year. As Greg mentions in his recent post it's been an interesting year for all the couples. For us this took the form of me having some health problems at the end of last year requiring major surgery in December followed by a 6 month course of chemotherapy starting in January. Whilst none of this could really be helped, it was not conducive to treehouse building! Gladly that is all now behind me and the business of making Our Place In The Trees a reality can begin again in earnest. 
October saw us on site again, this time though with no wives or children with us. Although the whole project is very much a family affair, we had some catching up to do and we're able to work a lot faster and longer when there are no other distractions. 
Greg and I (Heno) arrived on Thursday night and got everything set up in anticipation of James joining us on the Friday. This would give us 3 full days to make some much needed progress, the thought being that if we can end up with a fairly weather tight structure before the winter really sets in that would be advantageous! 
With that in mind, when we woke up to a beautifully misty autumn Friday morning, the 2 priorities for the weekend were finishing the stairs and getting the roof on. 

The view over the river
The view form my hammock! 

Beautiful dew covered spiders webs
Very autumnal! 


But first things first, tea and bacon sarnies. 

NOM NOM NOM!!


We decided to tackle the stairs first for practicalities sake. The sooner we could stop carting things up and down ladders the better! 
First job was to get in place the other half of the willow trunk for the opposite side rail. This is tricky enough as every time you change one angle or placement, it has a knock on effect on all the other angles. Much head scratching was done to get the angle, twist and pitch of the rails right. 

Then came the really tricky bit, making the treads! Each one was a unique length and the angles on each end were different from one end to the other and from tread to tread. We soon devised a system to get the right measurements and this worked well to speed up the process. We got it down to about 10 minutes per tread by the end. Even so we didn't quite finish it that night, no worries, there's always tomorrow! The whole thing has turned out far more wonderfully than I'd hoped. The mix of natural and sawn timber, the variety of colours on the treads. Needless to say we're mega happy with it! 


Rusticly Beautiful! 


That evening our resident chef (Greg) had quite the treat planned, Piri Piri chicken kebabs with corn on the cob and handmade chapatis! I love how Greg approaches catering on a treehouse building site in exactly the same way as he would when he's at home, it's just done over an open fire instead of a grill and hob! The guy's a legend. 

Mmmmmm good! 


The next day we finished the stairs first thing, then got on with the roof. We'd realised that the suppliers we ordered the fixing for the corrugated sheets from had messed up the order, so Greg spent the morning sourcing some more locally to save the day! Without them we'd have been very stuck. 

We had concerns about mounting the roofing sheet directly to the rafters. Although this is fine structurally, the sheets do smell a bit and we didn't really want the inside view to be of black tar. So it was decided to use up our remaining ply wood to cover the roof, filling in the rest of the roof with 'skids'. Skids are pieces of timber that were once used as spacers in pallet loads of feather board. They are uniform in thickness and covered in wood stain from the feather boards, perfect! 


Half ply, half skid roof


For extra protection we chose to use the now defunct tractor tarp to cover the timber layer before nailing on the corrugated sheets. We would then cover the ridge with a couple of sheets of corrugated tin that we scavenged from a friends neighbours back garden when they were taking down some lean to shelters. I think this will give us a great roof. We got 99% of the timber layer done and got everything prepped and set to hit the ground running in the morning. 

The final day was the last bits of customising skids to smoothly cover the gaps at the ridge beam, staple down the tarp and trim it to size (it was almost perfect, just a foot long on one side) the start the corrugated sheets. Greg had to leave us just after lunch on the Sunday as he had work to get home for in the evening and a long drive to get there, so James and I worked on until about 7pm to finish the roof. The nailing, overlap and support requirements for these sheets is all set out by the manufacturer so it was simply a case of doing as they said. Quite simple really and pretty quick one you get into a rhythm. We raced through our pile of sheets and were getting all excited about finishing when we realised we were 2 sheets short of a complete roof! D'oh!! I blame myself for somehow miscalculating our requirements, not sure how, but obviously I did! We'll get another two sheets and they will easily slide in under the above sheets and be nailed down next time we're there. 

Thanks for reading, and don't forget to check out the YouTube channel for all the vids! 

Monday 26 October 2015

Fourth Build Weekend

July 2015...something about rafters:


first things first, get the kettle on!  Top tripod, a site essential and our beautiful kettle courtesy of Sue Ryder charity shop....bargain!

Our very cute daughter relaxing with mum in the summer sun, this is what she does while mummy and daddy saw, drill and get splinters


From across the pond you can see the shape forming nicely, this will be the balcony end.


You can see the rafters going up, we only had about 4 pieces of wood long enough so we had to make more from 2 or 3 other bits of wood, interesting....but they seem strong enough, also genuinely the only photo you will find of James doing any work!  For some reason I only seem able to capture him drinking tea or eating biscuits.....I'm sure he's done some work!


You can clearly see here we've left one of the end plates too long hanging over the lawn beside the treehouse, it will soon have a pulley, rope and hook....that's right people, we'll have a yard arm! 


Fitting the rafters involved bodging together lots of bits of wood to make long rafters, then cutting one end to fix to the ridge beam then cutting birds mouth joints (didn't know what they were before doing this project!) at the other end to make them sit flat on the end plates. 


Full kilt action, thank you Heno!  He tells me it offers a sense of freedom shorts or trousers can't offer.....either way there was a hard and fast rule imposed as of that weekend, 'if sporting a kilt, Heno is ALWAYS the last person up a ladder!' #shudder


Jane fixing a rafter in place and James larking about....again it seems!

 The massive pile of wood in the middle of the floor has it's uses, it forms a 'very safe' and 'sturdy' platform to work on......no one died :)
Heno holding the top of one of the stilts.....this is the shortest and will feature as either a coat or mug rack.....or a naughty peg for hanging naughty children up by there dungarees to consider the consequences of their crimes.  

The mug stump 


Pile o windows from skips, just need to decide where they're all going now.


A good shot of the base camp.  You can see on the right against the shed lean-to our Coroline roofing sheets, like bitumenised, recycled plastic, corrugated roofing sheets, less rusting and noisy than traditional corrugated iron sheeting.

 You can see the whole tree in this one
 We managed to get power to the tree house for this weekend, we needed the chopsaw to cut stuff to length, saved us a lot of time.  You can see some corrugated iron sheets there, more skip diving fruit, maybe for toilet/shower block.

Next weekend....a roof!